
Desktop UI - Creating a Content Bank
A Content Bank is a special type of layer which stores references to media files in banks or grids.
Each cell in the grid can be used to display a media file or launch a session.
Tutorial Video
Creating a Content Bank
Content Folders
These are folders containing media files which are continually monitored by ICE. The list of content folders are maintained in the Config > General dialog. A reference to each image or video file in a content folder is stored in the ICE database.

To add a content folder, select Config > General. On the Media tab, press the [+] button to the right of the content folders listbox. Navigate to a suitable folder containing media files, e.g. C:\Igloo\Content, and press Open. The selected folder will be shown in the content folders list and it will be monitored for new files being added.
Please note that sub-folders of a content folder are not monitored.
The Detect Spherical option will look for any equirectangular format files (with 2:1 aspect ratio). These files will automatically be displayed with the TruePerspective effect applied.
Content Banks

To add a Content Bank, press the [+] button and select New content > Content Bank.
Note the layer is set to Pinned by default so that it isn't removed upon returning to the Homescreen.
The Content Bank contains 8 grids, each with 50 cells. The name of the associated media file or session is shown in the cell and a cell with no corresponding content is displayed as a blank cell. The currently selected grid is highlighted with a blue edge, and the current cell is highlighted with a green edge.

Content Bank layer with cells/grids
To add content to a cell, right-click on the cell and select Load. This pops up the Load Content dialog and, from the Media Files tab, you can select one of the files from the content folders. Once selected, the cell is updated with the filename. The Content Bank layer will also display the media file.
Add files to a few of the cells and then click each cell to see how the content changes. For videos, click on the Playback tab and adjust the volume. The volume level is remembered for each cell so that you can set different levels depending on the content.
TIP: Make sure you save the workspace if you want to save any changes to a Content Bank layer.
You can also drag and drop media files directly from Windows Explorer onto a cell.
For more advanced content, you can also use the Load menu to link a cell to a session. When the cell is clicked, the session will be launched. This behaves the same way as the Load Session menu item, and removes any unpinned layers before loading the layers from the session.
Playlists
All the cells within a Content Bank grid can be treated as a Playlist. Each cell is displayed in the order shown in the grid working from top-left to bottom-right, row by row. Movies run for the length of the movie file, whereas as images and sessions are assigned a duration in the cell properties (Playback tab).
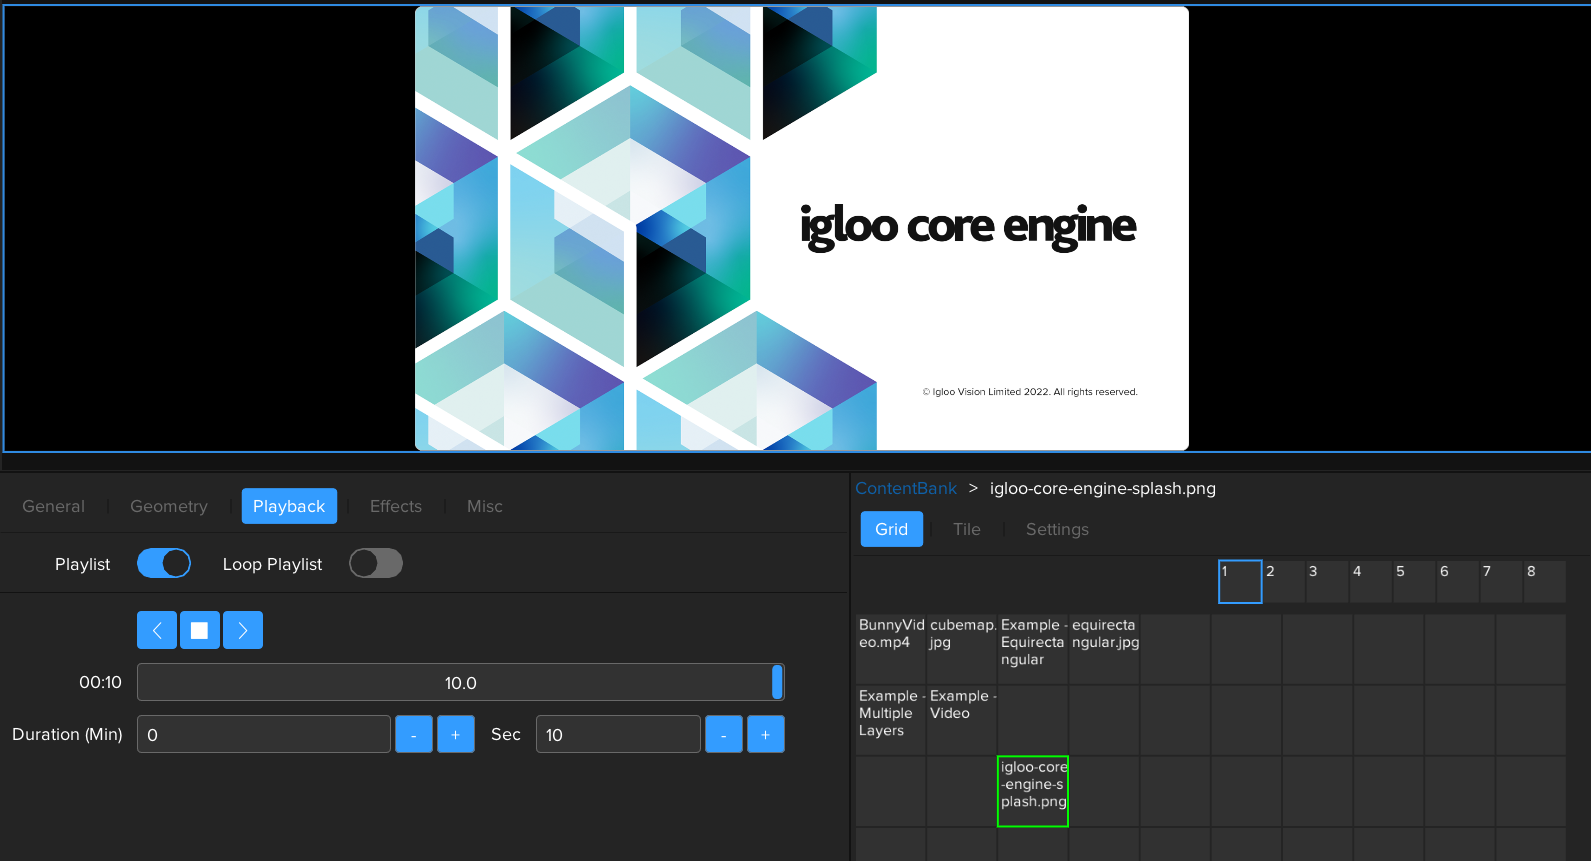
Playlist option enabled for Content Bank 1.
Content Bank Geometry and Effects
The ContentBank layer has its own top-level geometry settings which enable the content bank to fill the entire canvas or just a section of the canvas e.g. one wall. Also, any effects applied to the top-level ContentBank settings, will be applied to all of the cells in the ContentBank when they are displayed.
The ContentBank layer settings act as global properties for all the cells in the Content Bank. Click on a cell to show the properties of the cell in the layer properties, and click on the word ContentBank above the grid to show the global properties.
Each cell in the content bank has its own geometry settings which are contained within the overall content bank layer settings i.e. they are relative to the top-level geometry settings. In the Effects tab, any effects added will apply to the current cell only.
Click on a cell to access the cell’s geometry settings (this only applies to media files, session properties are only accessible by loading the session and clicking each layer).
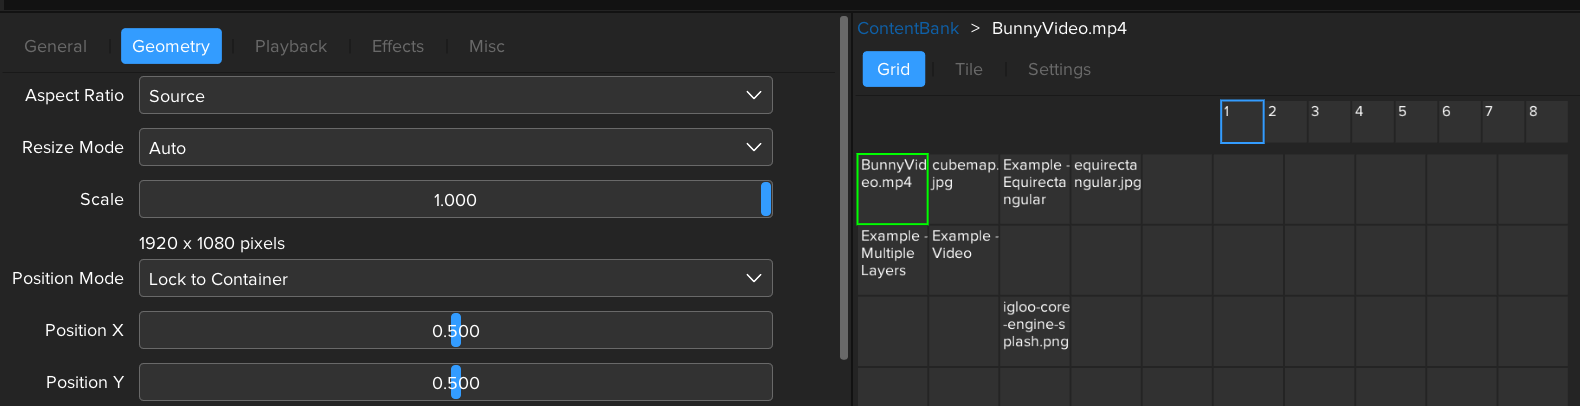
Click on a cell to access the layer properties.
The settings window will change as below to indicate the geometry settings of the cell are now displayed. Remember the Container in this case is the ContentBank layer itself rather than the whole canvas.
Clicking the ContentBank text (on the top right-hand side) will show the layer properties of the ContentBank layer itself.

Next Section: Desktop UI - Viewing YouTube 360 Movies