
Canvas Recording
You have the capability to capture your workspace activities in the form of a video file, as well as take still snapshots.
To personalise the settings for video recording and screenshots, follow the steps below:
Navigate to the 'Workspace' menu.
Select the 'Canvas Share' option.
Open the 'Record' tab to access and configure the recording and screenshot settings.
All settings are saved per Workspace
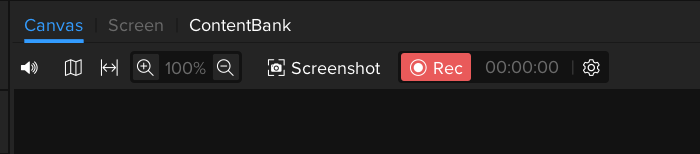
You can also quick-access these setting via the toolbar
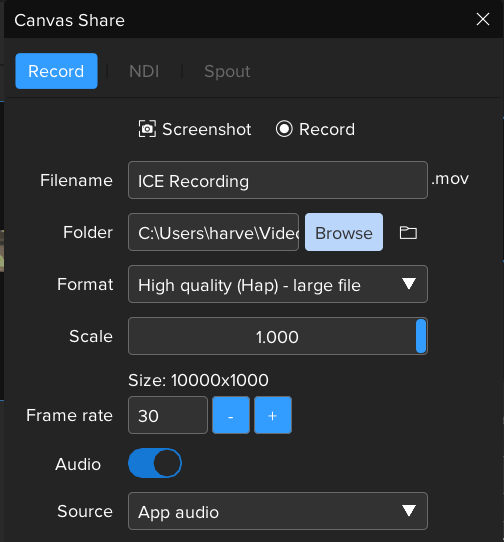
Record settings
Filename
This field represents the beginning part of your output file's name. You can customize it to your preference.
Folder
This is the location where your recorded files will be stored. Choose a folder on your system where you want the recordings to be saved.
Format
You can choose the quality and corresponding format of your video from the following options:
High Quality (Hap): This option gives you superior video quality but results in larger file sizes.
Medium Quality (H.265): Offers moderate video quality with reasonable file sizes.
Low Quality (H.264): This choice provides lower video quality but ensures smaller file sizes.
Scale
This optional setting allows you to adjust the resolution of the video. You can specify a scaling value to alter the video resolution while keeping the original aspect ratio intact.
Frame rate
This is the desired frames-per-second (FPS) rate of your recording. Higher frame rates yield smoother video playback, but can result in larger files.
Audio
You can enable this setting if you wish to capture audio along with the video. If disabled, the output file will be a silent video.
Source
This setting determines the origin of the audio that will be recorded. By selecting 'App audio', you can capture the sound from the ICE application. Alternatively, you can choose any available connected audio devices from the list to record audio from those sources.
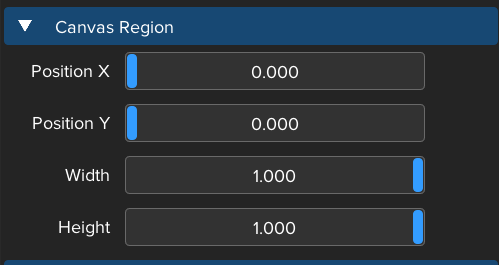
Canvas Region
The Canvas Region is where you define a specific portion of your workspace to be captured when recording a video or taking a screenshot. You can customize the area to be captured using the following parameters:
Position X
This parameter specifies the horizontal position (left to right) of the top-left corner of your selected region on the workspace.
Position Y
This defines the vertical position (top to bottom) of the top-left corner of your chosen region on the workspace.
Width
This denotes the horizontal extent of the region to be captured. Adjust this to increase or decrease the breadth of the captured area.
Height
This sets the vertical extent of the region to be captured. Modify this to increase or decrease the height of the captured area.
Screenshot
Folder
This setting represents the directory where your captured screenshots will be saved. You should select a suitable location on your system to store these images.
Image Format
You can choose the format for your screenshots from the following options:
PNG: Portable Network Graphics format, best for images requiring transparency.
JPEG: Joint Photographic Experts Group format, generally preferred for its balance of image quality and file size.