
Desktop UI - Building a Homescreen, part 2
This section revisits the Homescreen which you built previously and extends it to include more components.
Tutorial Video
Returning to the Homescreen
Add another Grid
Select the Home layer and go to the Layout tab in the layer properties. Press the ‘+' button and select Grid. Set the grid name to MovieGrid and title to ‘Movies’. Scale and position the grid so it appears on the right side of the Homescreen. Leaving the Fill type as Manual, add a couple of sessions showing movies to the grid, e.g. use the 'Example - Video’ session and the Rollercoaster Youtube 360 movie. Notice how the icons on each tile correspond with the type of content in each session.
Try changing the grid appearance by unticking the background property for both the MovieGrid and the SessionGrid. This hides the grid background and displays the tiles directly on top of the Homescreen background.

Homescreen with MovieGrid and SessionGrid.
Add a DateTime Component
In the Layout tab, press the '+' button and select DateTime. This creates a text string showing the current date and time.
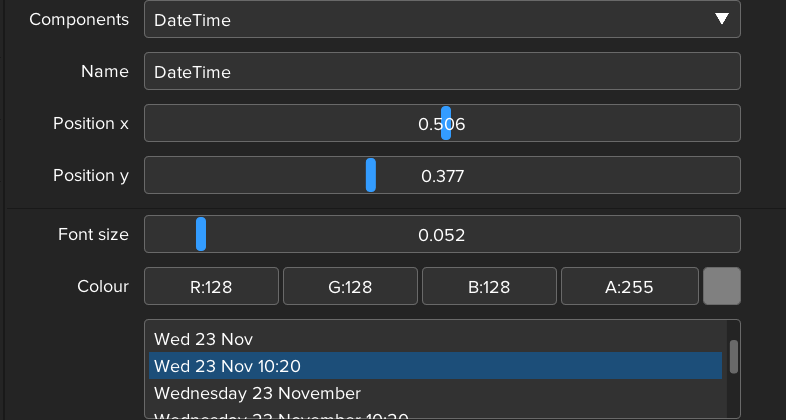
In the Component tab, select the format of the date and time and use the position sliders to move the text to a central location. The Font size slider can be used to set the text to the desired size.
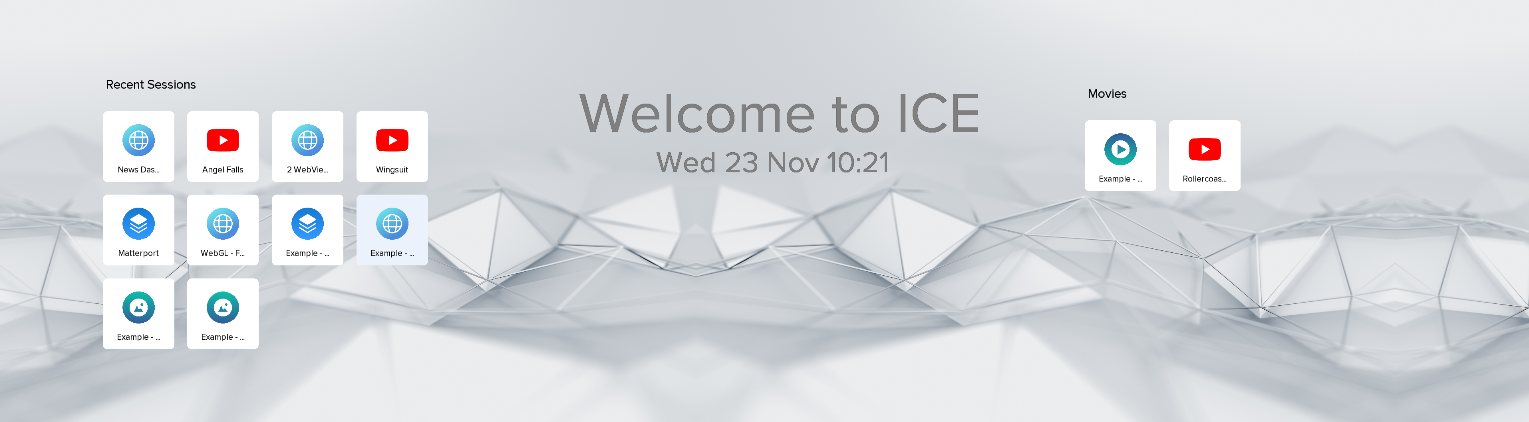
Homescreen with DateTime component
Add a Logo Image
In the Layout tab, press the '+' button and select Image.

In the Component tab, select an image file from the local drive and scale and position it on the homescreen. Set the name of the component to ‘LogoImage’.
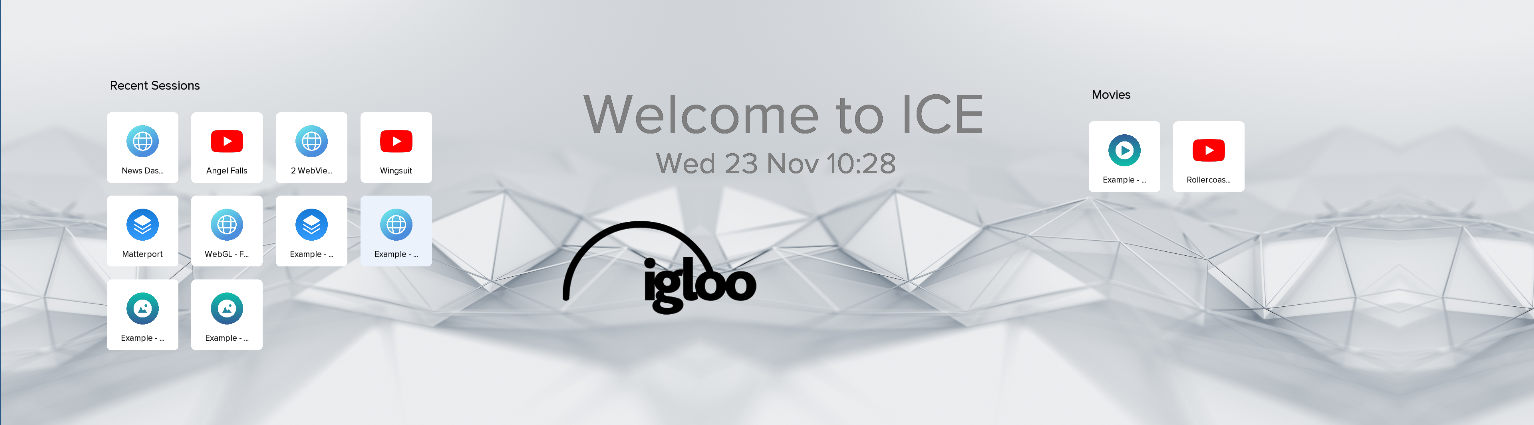
Homescreen with Image component
Add a QR Code
In the Layout tab, press the '+' button and select QRCode. A QRCode is a matrix style barcode and is automatically scanned by the cameras in smartphones.

In the Component tab, scale and position the QRCode image. In the Text field enter the URL which you would like the QRCode to link to e.g. http://www.igloovision.com . Note how the matrix in the QRCode updates as you type in the URL.

Homescreen with QRCode component
Add a Start New Session button
In the Layout tab, press the '+' button and select Tile. A Tile is a button which can be displayed outside of a grid. It can be linked to a session so that it launches the session when clicked.
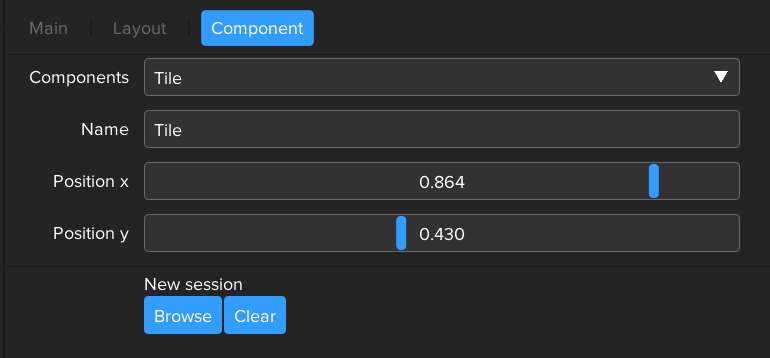
By default, if the tile has not been linked to a session then it behaves as a ‘Start new session’ button. This will hide the Home layer and the Canvas toolbar, together with any other non-hidden, pinned layers will be displayed.
The Browse button pops up the Load Content dialog and enables a session to be selected. The name of the selected session is then displayed above the Browse button.
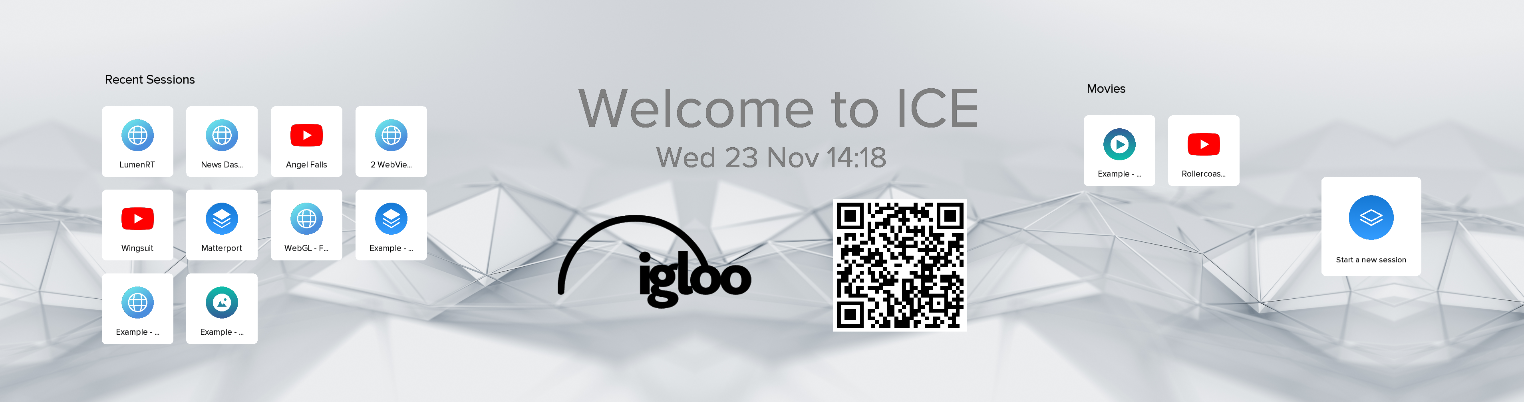
Homescreen with Start New Session Tile.
Don’t forget to select Workspace > Save to save the updated Home layer.
Additional Tips
Here are some extra tips to try when setting up your Home layers.
Use a transparent Background
This is a useful effect which will enable your Home layer to appear with a dynamic background.
In the Config > General > Home settings, create a new theme (give it an appropriate name) and clear the Background field. Apply the new theme to the current Home layout (in the Layout tab in Home layer properties). The layout will be drawn on top of any layers which are below the Home layer in the layer list. If any of these layers contain a movie file, e.g. the layer set to Background in the General properties, then the Home screen will appear to have an animated background.
Use Tags to populate Grids
All sessions can be saved with associated tags. Tags are simply text labels and are useful for grouping sessions together. For instance, a tag called ‘Outer Space’ could be used to link all space-related content. One of the fill types for Grids is called Tag, and this enables an existing tag to be selected and used to populate the grid. All sessions associated with the selected tag will be drawn in the grid.

Using Tags to populate a Grid
Use Tiles to jump between Layouts
Different Layouts/Homescreens can be linked together via tiles. In the properties for a Tile, select Type ‘Layout’ and select which Home Layout it links to. When a user clicks the tile it will switch the Home layer to the selected Layout. This gives the potential for creating hierarchical arrangements of homescreens e.g. to enable drill down from a top-level Home layout to department level layouts.
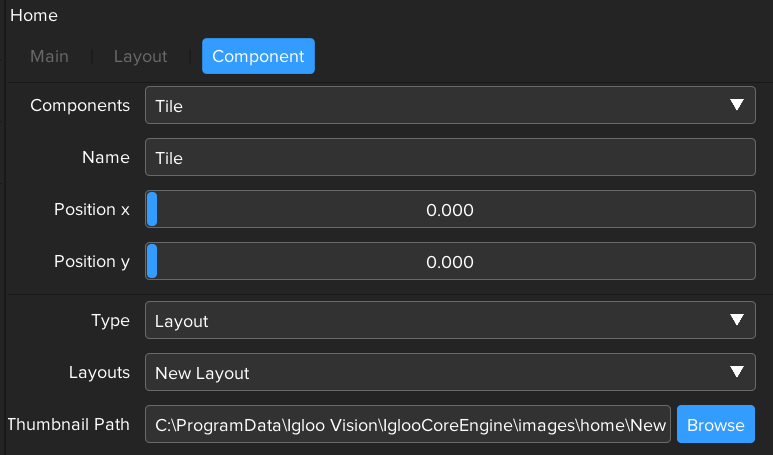
Link a Home Layout to a Tile
Next Section: Desktop UI - Creating a Content Bank