
Desktop UI - Getting Started with ICE
This section will introduce you to creating a workspace and adding a background and a movie layer, using the ICE desktop user interface.
It is highly recommended to use the example workspace and sessions provided with ICE for these tutorials. These will be included in the default database following a clean install. They are also included in the database file in ProgramData\Igloo Vision\IglooCoreEngine\settings\database\example\ice.db.
Creating a new Workspace
Start the ICE application and select Workspace > New.
The ICE desktop user interface (UI) will look as below, with no layers of content and a blank screen in the Canvas preview tab.

ICE desktop UI - New Workspace
Adding a Background image

Press the Add Content button and select New > Image.
A new layer will be created and appears in the layer list with the name ‘Image’. The lower half of the desktop UI presents the properties of the currently selected layer. In the General tab, click on the Name field and change it from ‘Image’ to ‘Background’.
Across on the right is the Filepath field, click on the Browse button and select an appropriate background image. A sample background is provided in C:\ProgramData\Igloo Vision\IglooCoreEngine\images\home\home-background.jpg .
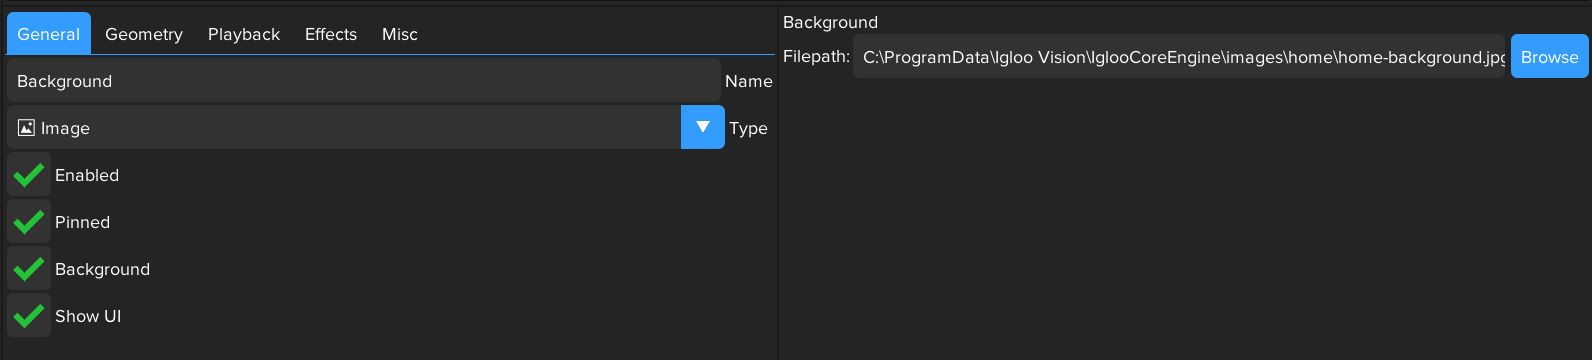
Properties of the Background image layer
Finally, in the General tab, click the Background checkbox to denote this as a background layer. This will keep the layer at the bottom of the layer list and will also mark it as a pinned layer. A pinned layer is persistent in the Workspace, it is not automatically deleted, for example, when loading a session.
Viewing a Movie file
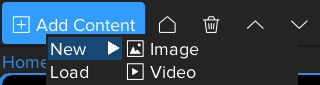
Press the Add Content button and select New > Video.
Another new layer is added to the top of the layer list. The order of the layers determines which order they are drawn on the canvas, with the lowest layer being drawn first.
Change the layer name to ‘Movie’ in the General tab and browse to the movie file using the Browse button. A sample movie is provided in C:\ProgramData\Igloo Vision\IglooCoreEngine\example content\BunnyVideo.mp4 .By default, the first frame of the movie will be displayed in the Workspace preview and the movie layer will be scaled and centred on the canvas.
The full-length sample movie is available to download at https://storage.googleapis.com/gtv-videos-bucket/sample/BigBuckBunny.mp4
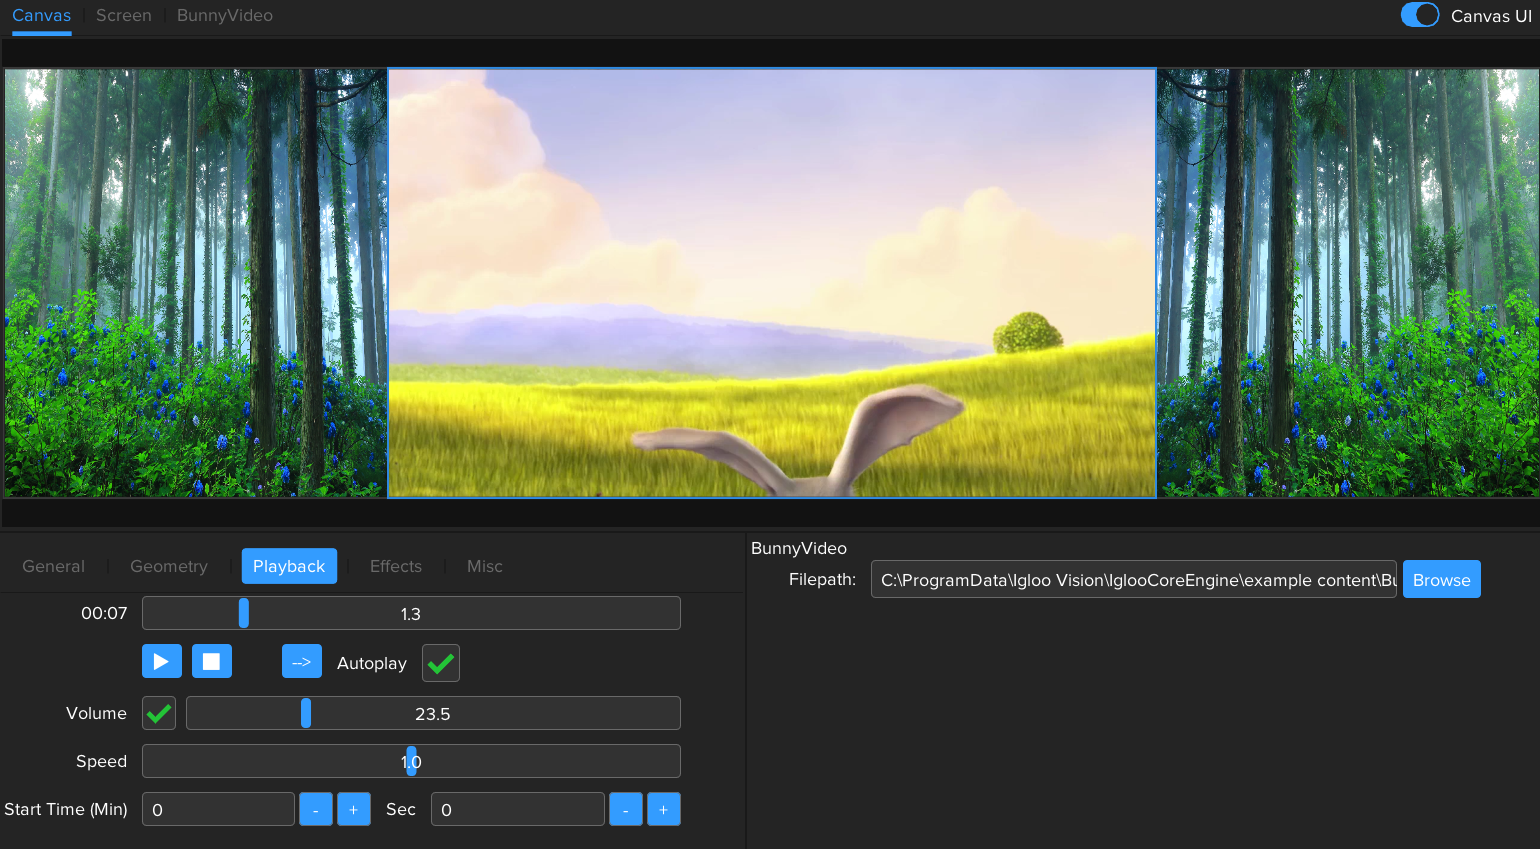
Movie layer with Playback tab
Click on the Playback tab to access the movie controls. Adjust the volume level to suit and press the Play icon to start the movie playing. The movie will continue playing until it reaches the end or you press the Stop button.
Save the Workspace
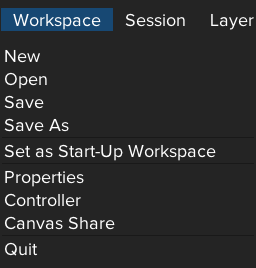
Press Workspace > Save.
The workspace has not yet been given a name so a popup appears to enter a unique name. Once entered, press Ok to save the workspace and the list of layers.
Next select the menu item Workspace > Set as Start-Up Workspace.
This will automatically load your new workspace next time you run ICE.
Next Section: Desktop UI - Handling 360-degree Content