
The Igloo Encode tool is primarily used for encoding movies using the HAP codec ready for playback using the Igloo Warper application. It also provides a solution for embedding audio tracks to a movie.
Using Igloo Encode
Igloo Recommends the HAP codec and a .mov container for any videos running through Igloo software. Where this is not possible though, Igloo recommends outputting in any lossless format, and transcoding it to HAP using Igloo Encode.
This is due to the HAP codec using the graphics card (GPU) to process the movie rather than the CPU. This stops bottlenecks occurring when playing large resolution videos.
While aftermarket plugins are available for the big video-editing tools, the HAP codec is not often supported as a direct output, so we created our own Drop & Go piece of software to convert any video to HAP.
Igloo Encode comes installed on all IMPs as standard and is also available via our Download Centre.
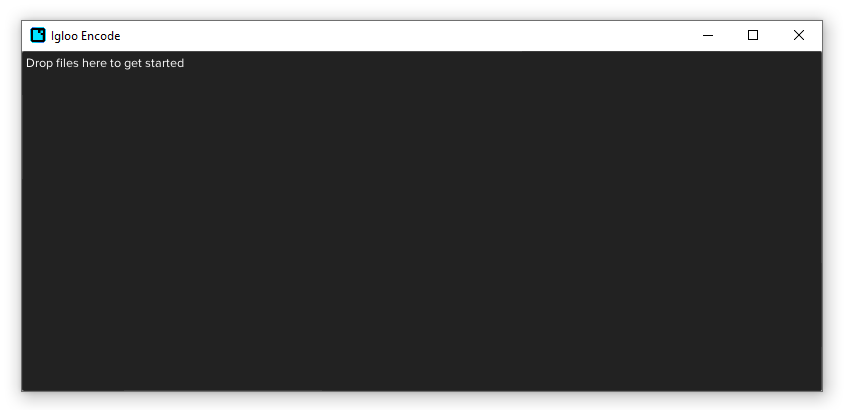
Drop your content onto the Grey window, choose an Output Directory, and then click Go!
This will create a copy of your movie, converted to the HAP codec. There are advanced Options if you wish to explore them, or if you’ve found the conversion to contain errors.
The Igloo Video Converter is a tool primarily used for encoding movies using the HAP codec ready for playback using the Igloo Warper application. It also provides a solution for embedding audio tracks to a movie.
The default settings will transcode the source movie using the HAP codec, simply set an output location and click go. Different video and audio codec options are available through the Advanced menu.
The Video Converter interface is very simple:
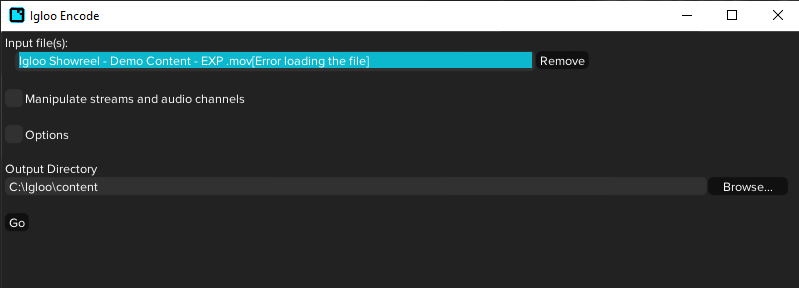
As prompted, add files to start the process. Once the source file has been loaded a number of options are offered.
An Output directory can be chosen, as well as Options, and if required Streams and Channels can be. If no further options are required, an output directory can be selected, once set Click GO to Convert the source file, the converted file will be found in the Output Directory.
If options are required, click on the relevant checkbox and the options will appear. The first option provides stream and audio manipulation options. The second option provides options regarding Duration, Size, Audio Only and Advanced.
Embedding Audio
Drag all video and audio tracks into the converter window and click 'Manipulate streams and audio channels', note that you can drag multiple items at once. In this example, we will be embedding 10 separate audio tracks within our movie.
Select an input file to inspect the Audio/Video streams it contains. Our source movie already contains audio, we will be replacing these audio channels so with the video input file selected we will deselect all of the audio channels contained in the source movie.
The audio channels can now be mapped to the appropriate output channels, with a channel selected it can be arranged using the Move Up and Move Down buttons.
Video Manipulation
Output range limits the output file to a number of seconds starting from a point in time
where n is the number of seconds from the start of the content.
Re-size offers the ability to change the resolution of the output file.
Extract audio is an ON/OFF only setting.
Advanced provides an assortment of encoding formats.
When no options are set, click Go to encode the source file to the Output Folder.
Conversion status is shown on screen:
Once conversion is complete, the original window will return to focus and the source media will have been encoded.