
In Igloo Core Engine Version 1.3 or later, it is possible to export Sessions as .iceSession files. These files can be then copied to other Igloo Immersive Media Players and imported into Igloo Core Engine. This process is useful for transferring content between Immersive Spaces.
Exporting a Session
In this example, we will export a session with a single video layer and another session with four WebView layers.
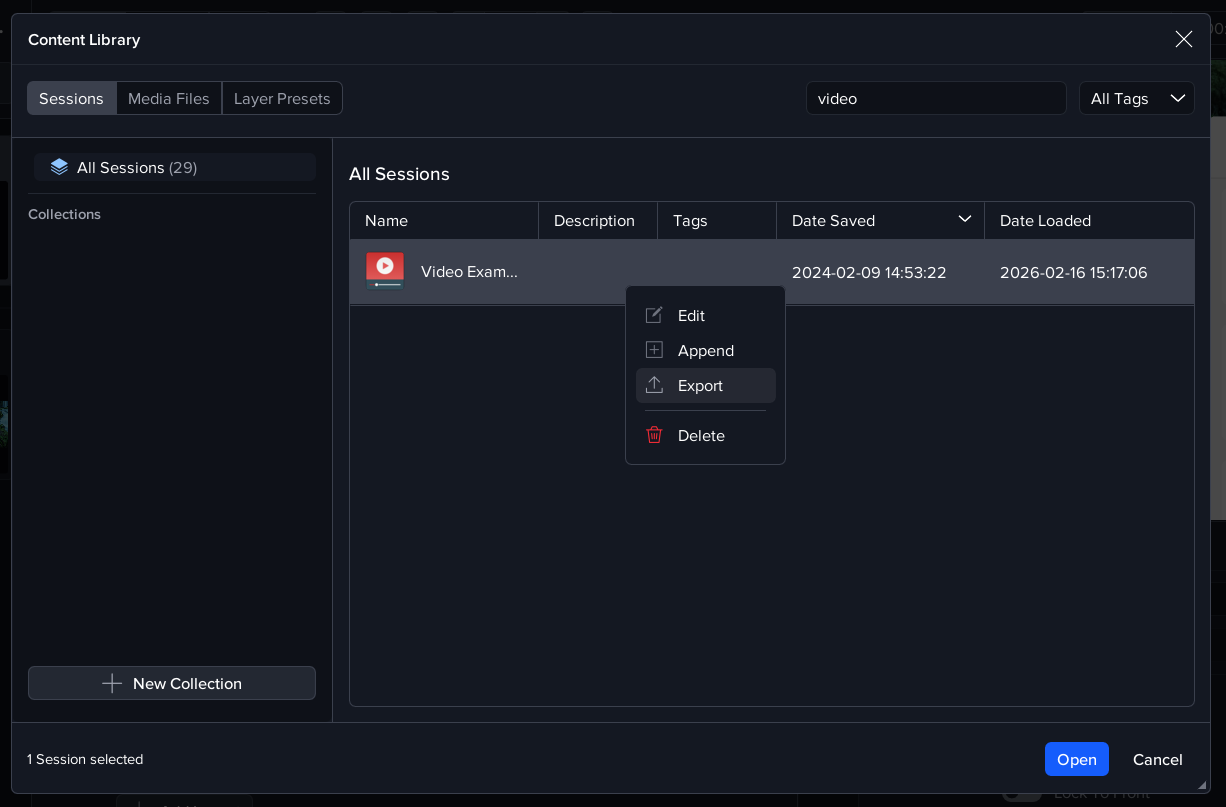
First press Library to open the Content Library window, then search for a session called ‘Video Example’. Next, right-click on the Video Example row and select Export.
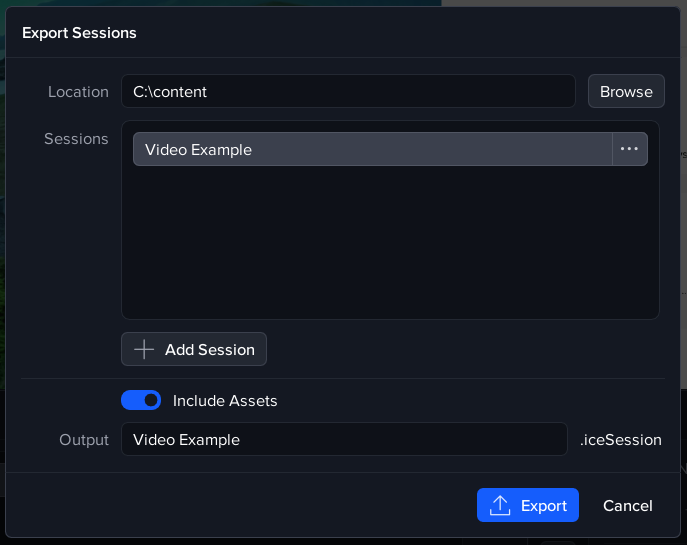
The session export dialog will now appear and the Video Example session will be preselected in the Sessions listbox. Select the folder to export the session to and note the Assets switch is on, indicating that any media asset files which are part of the session will be included in the export.
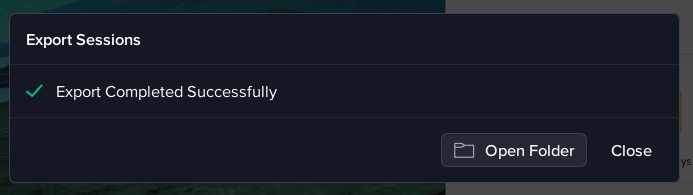
Press Export and a popup will display when the export has been completed.
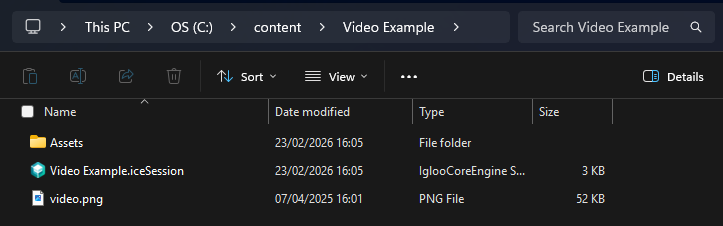
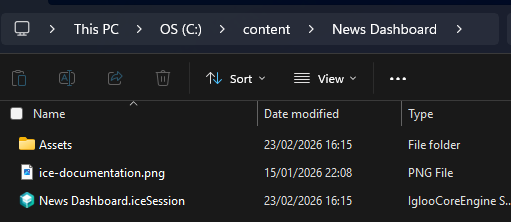
Pressing the ‘Open Folder’ button will show the folder where the exported files have been generated. Note the Assets sub-folder, which is where the video file is copied to.
For the next export, select File > Export Sessions from the main menu bar in Igloo Core Engine. This will also show the Export Sessions dialog but this time with no sessions in the list box. To add a session, press the ‘Add Session’ button below the Sessions list and then select a session, such as your News Dashboard session. More sessions can be added to the list which will all be exported together but in separate Output files.
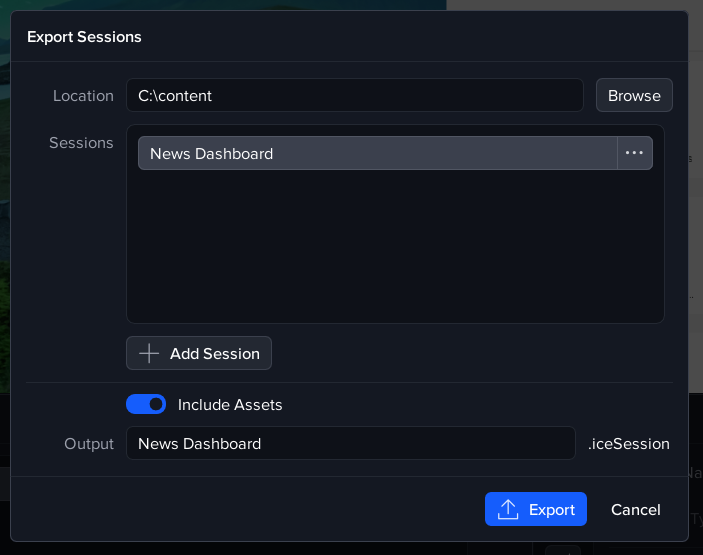
Press the Export button and note that the Assets folder is empty because there are no asset files required (all the content is provided by the URLs in the WebViews).
Importing a Session
Next we will import the sessions we have just exported.
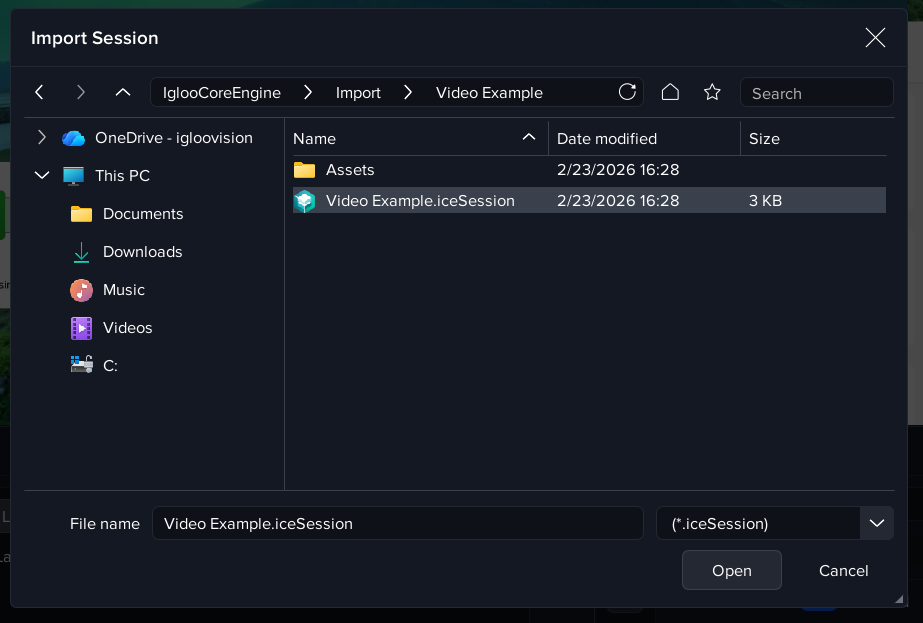
From the Session menu in Igloo Core Engine, select ‘Import Session’. This will pop-up a file dialog so that you can select the .iceSession file to import. Select the Video Example.iceSession from the folder where you exported it to.
This will display a Warning dialog because the database already contains a session with the same name.
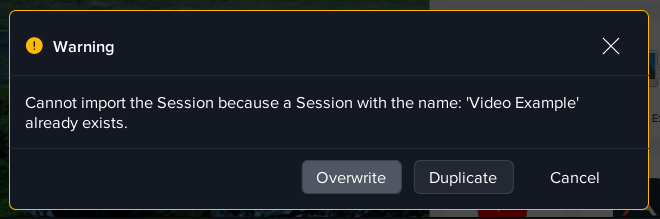
Select Overwrite so that the session in the database is replaced by the session imported from the file. The other options are to import with a different session name or to cancel the import. When the import has completed a summary dialog is displayed.
Importing Multiple Sessions
Finally, we will look at how to import a batch of sessions. Select File > Import Session Folder and select the folder where both the sessions were exported to.
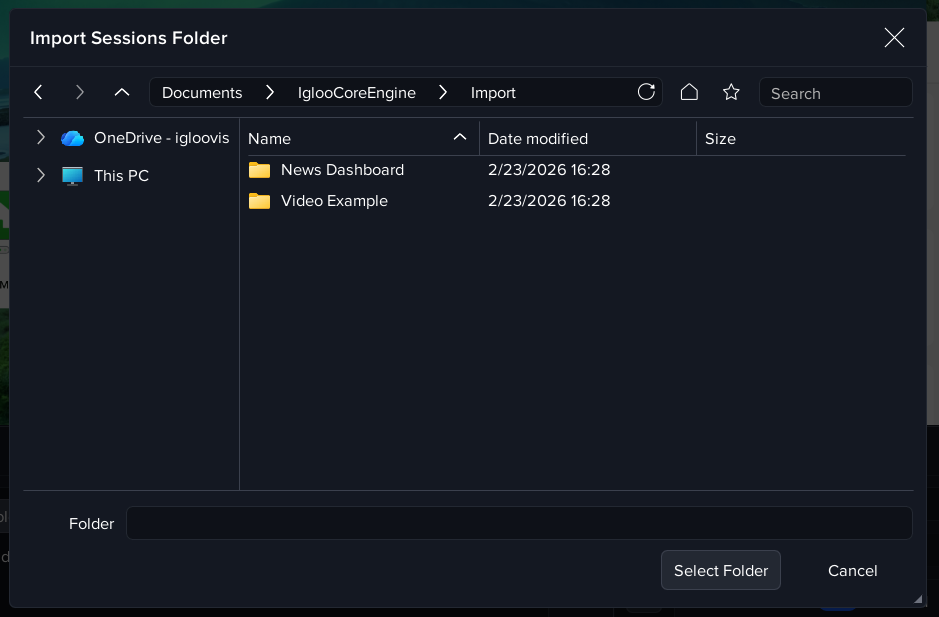
The importer will look for all the .iceSession files in the selected folder (including sub-folders) and import them. There may be conflicts with existing session names in the database, as well as issues such as missing media files. All the import conflicts are presented in a summary dialog and this enables the user to make the appropriate choices.
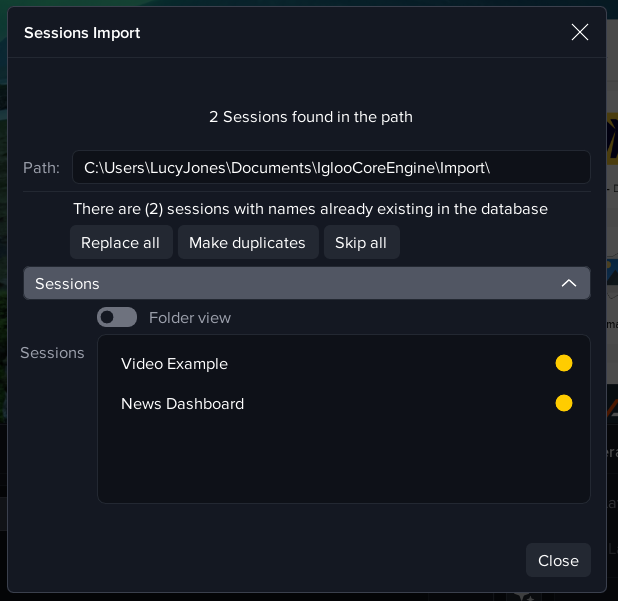
Any sessions listed with a green dot were successfully imported with no conflicts. Sessions with a yellow dot have conflicts for the user to resolve. The conflicts can be resolved by overwriting the existing sessions, importing with different session names or by skipping the import of the sessions with conflicts.
Next Section: Desktop UI - Exploring Google Street View